
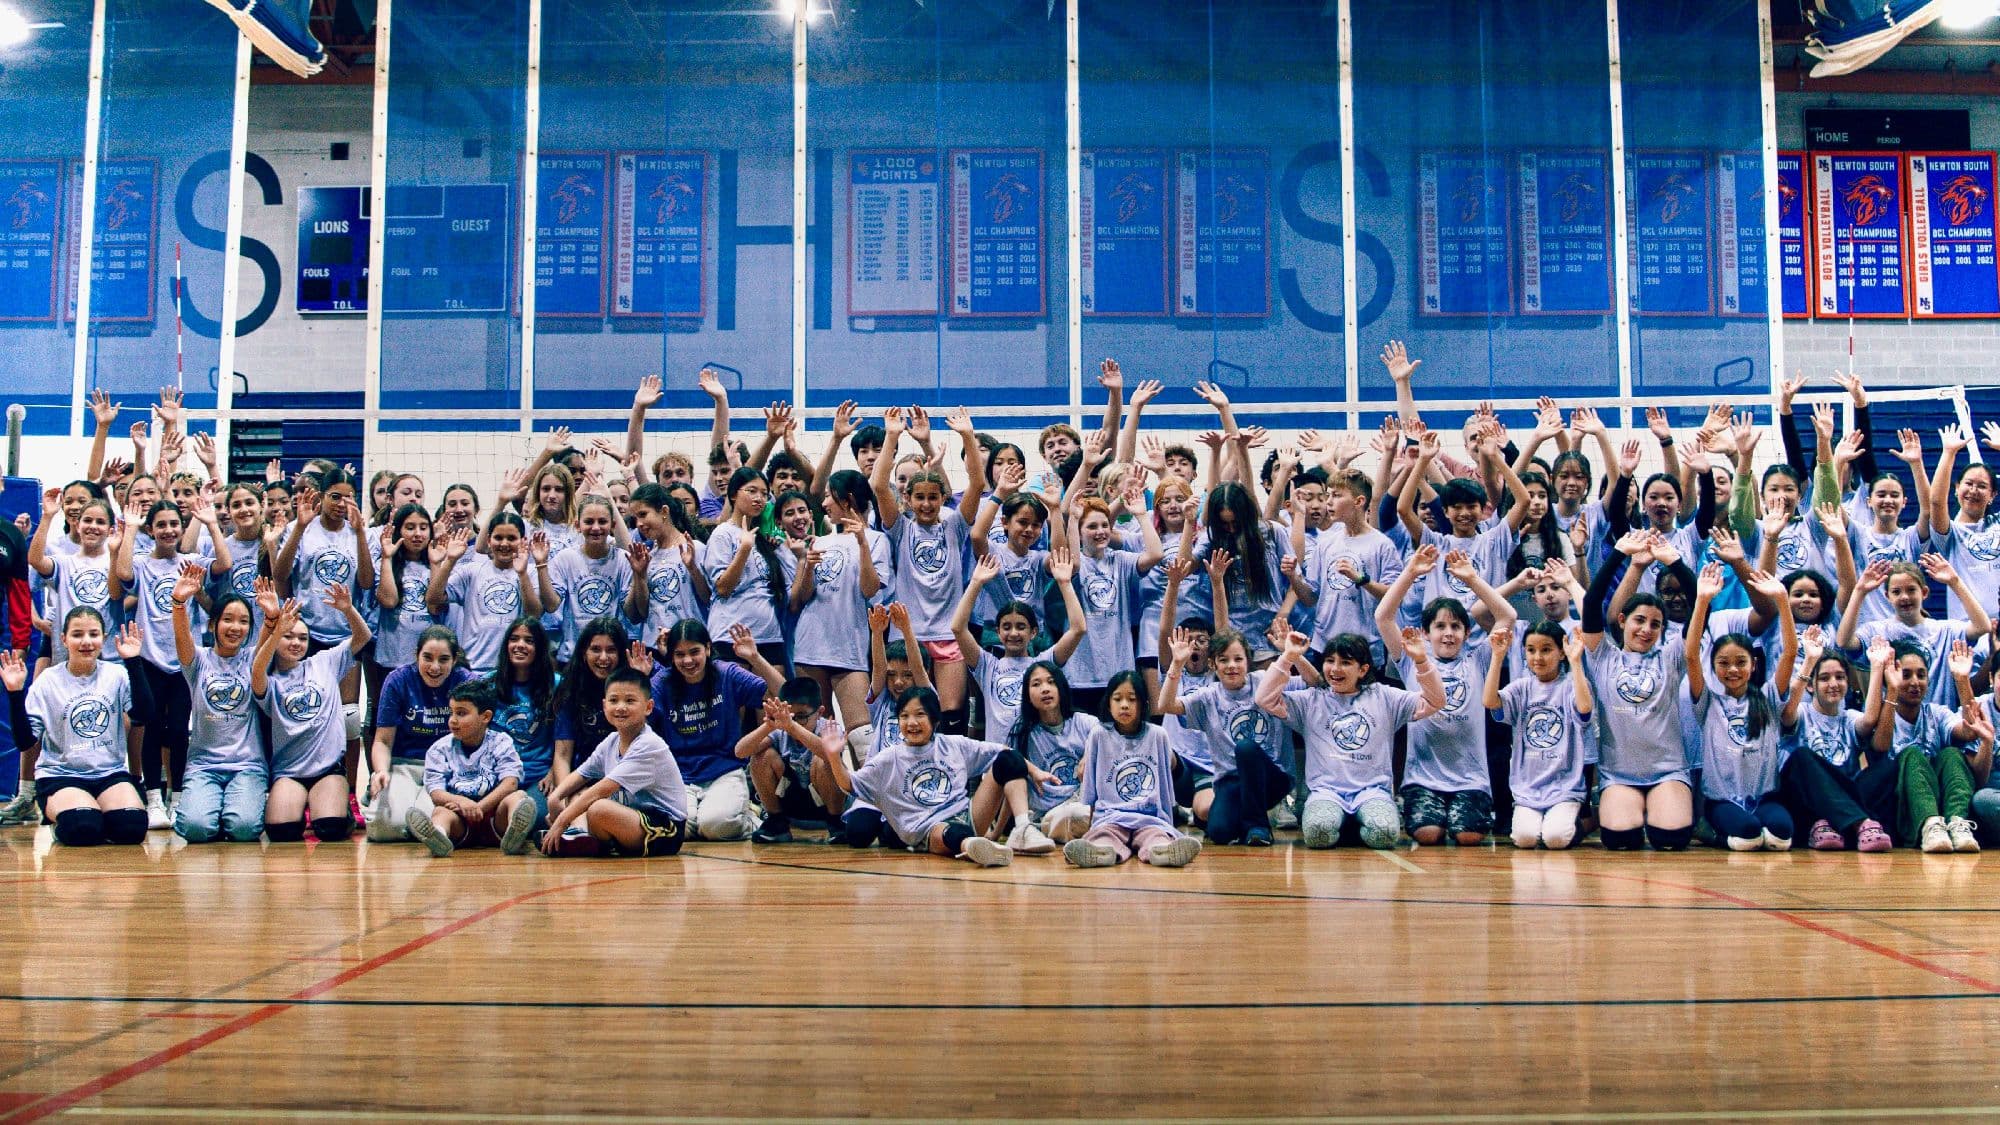
Volleyball for All
Orange County Volleyball Association (OCVA) is a leading nonprofit volleyball association serving Orange County, committed to making the sport of volleyball accessible to all athletes and families through high-quality programs and services.
Every path keeps the same OCVA coaching language, visual rhythm, and parent-friendly clarity from the first click to the first whistle.
Seasonal Camps
Sun-soaked weeks of fundamentals, match play, and high-rep coaching for players who want a sharper summer.
Break Training
Keep rhythm during school breaks with fast-paced sessions across Orange County.
Recruiting
Get seen by college coaches and recruiters in a focused evaluation environment.
Ages 8–17
Every level from rookie to elite, built around clean technique and confident match decisions.

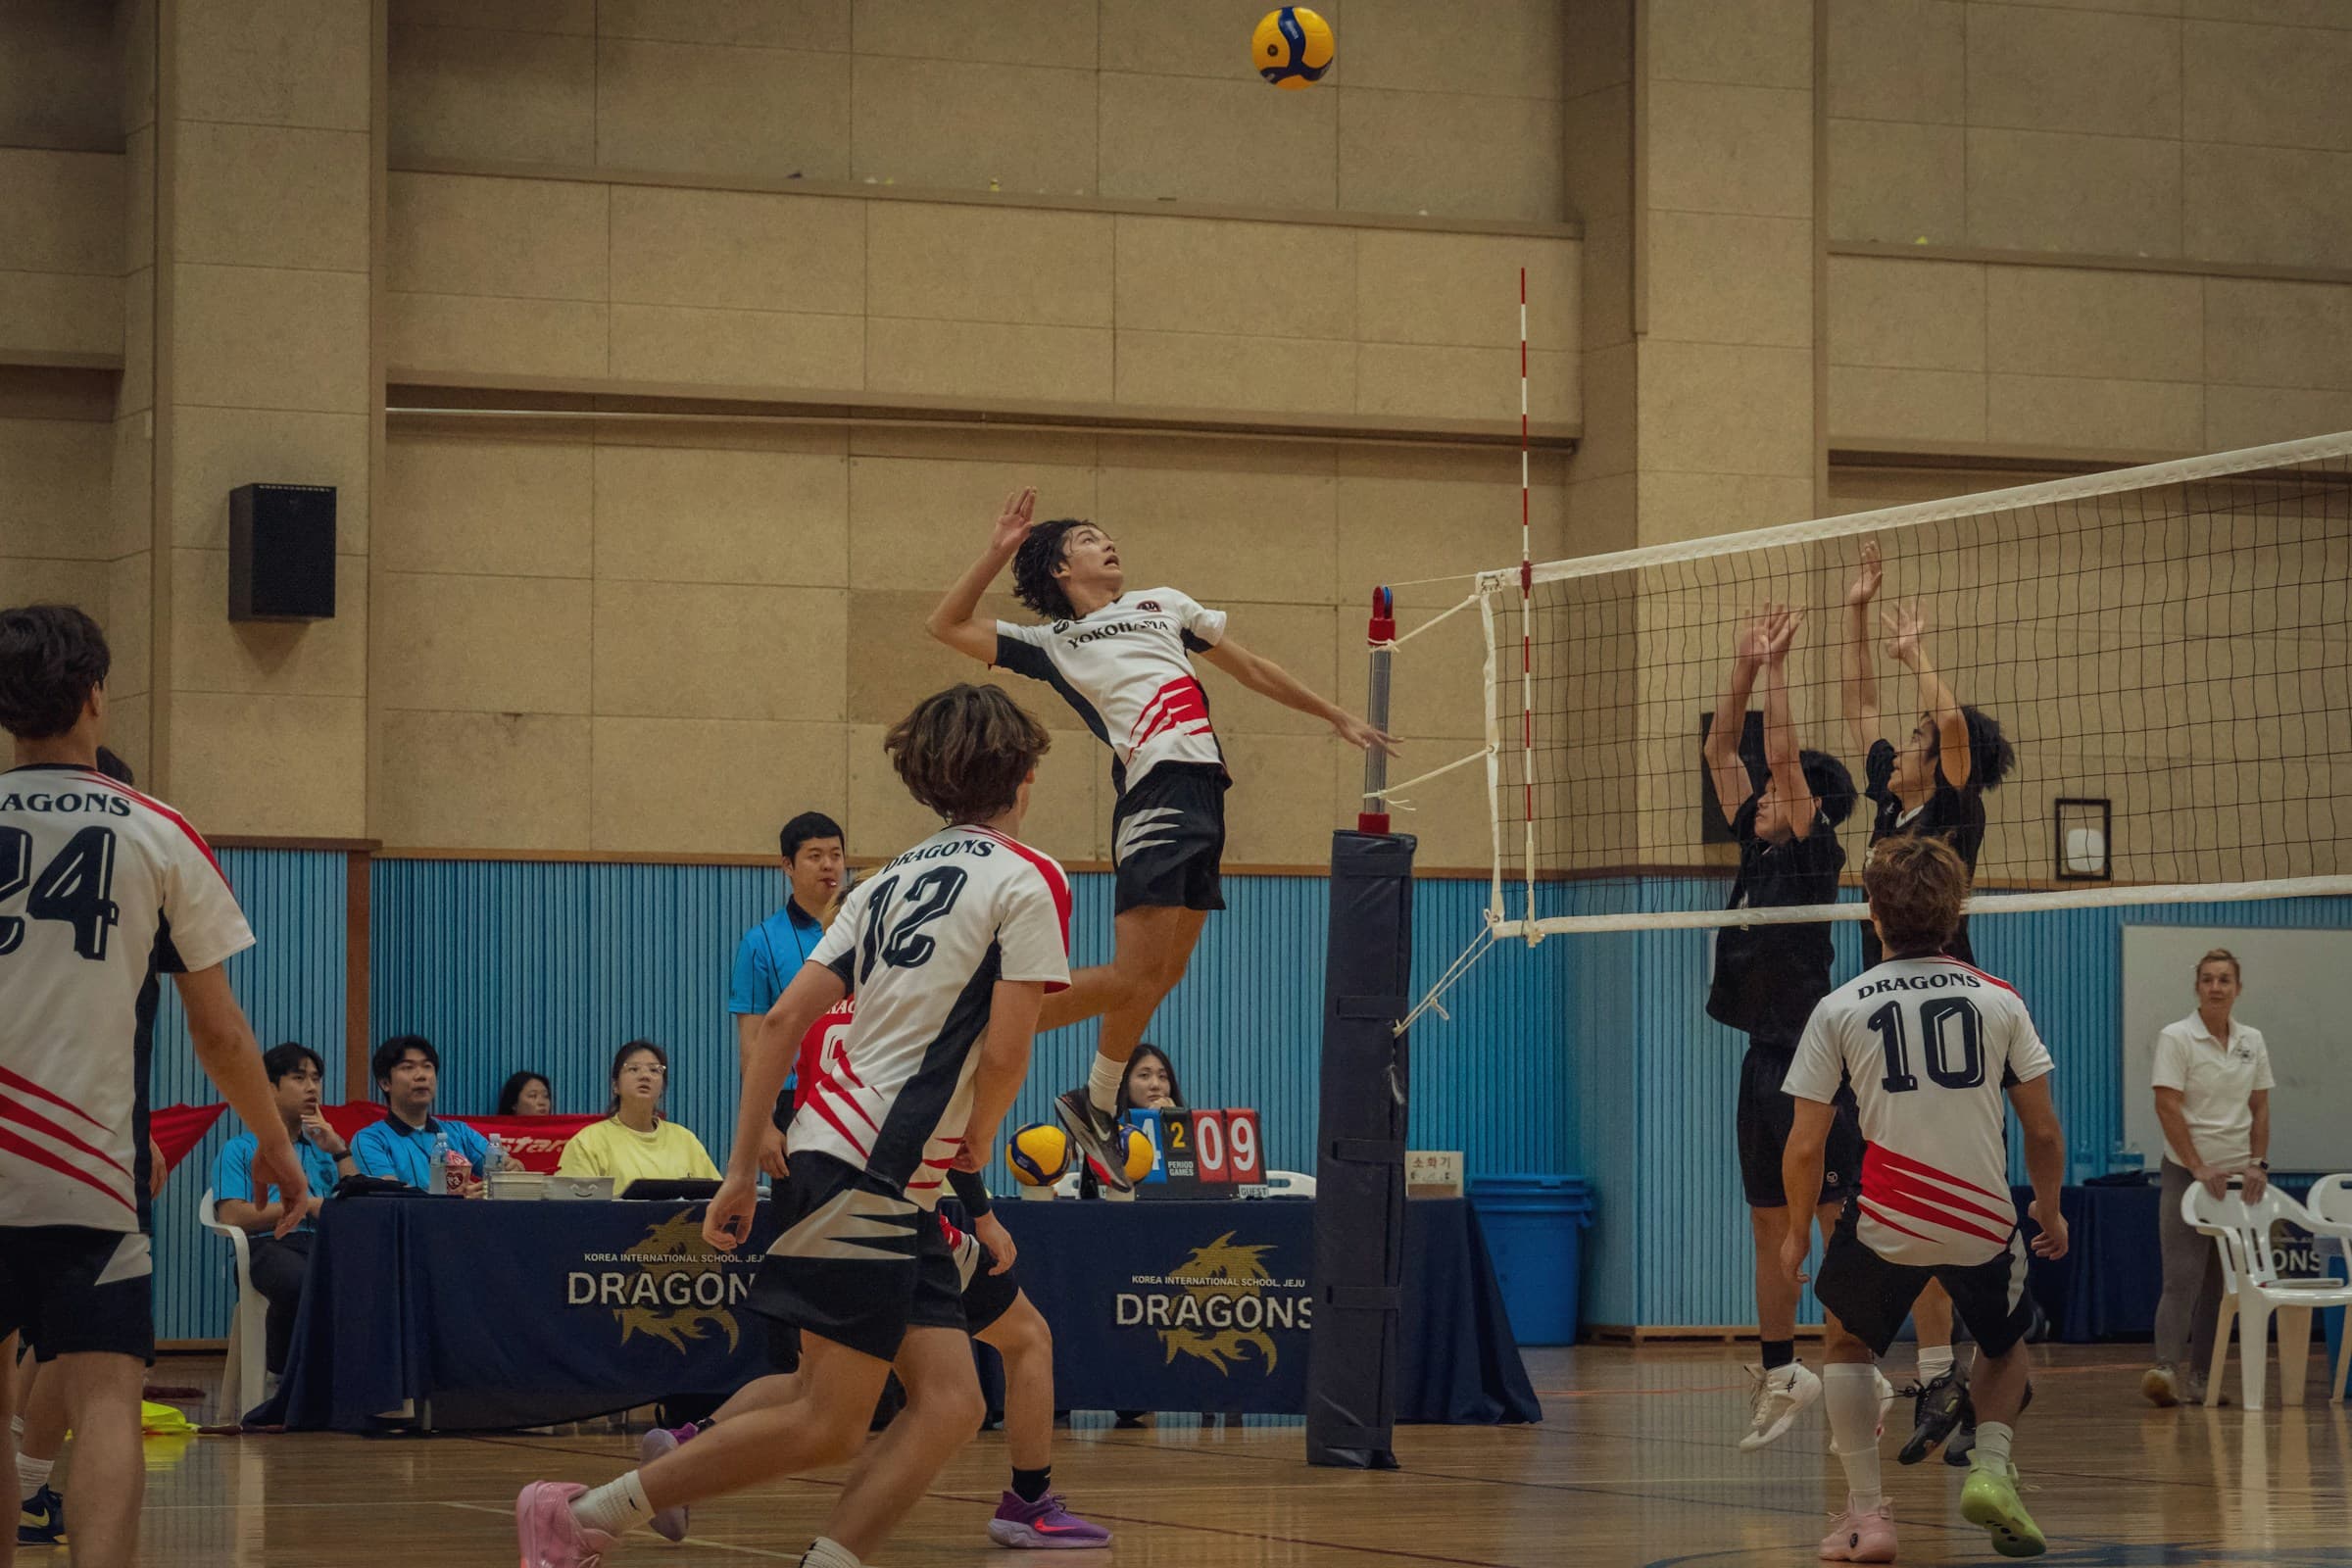
Competitive Play
OC leagues, drop-ins, and tournaments open to all communities — for players who still want the ball in the air.
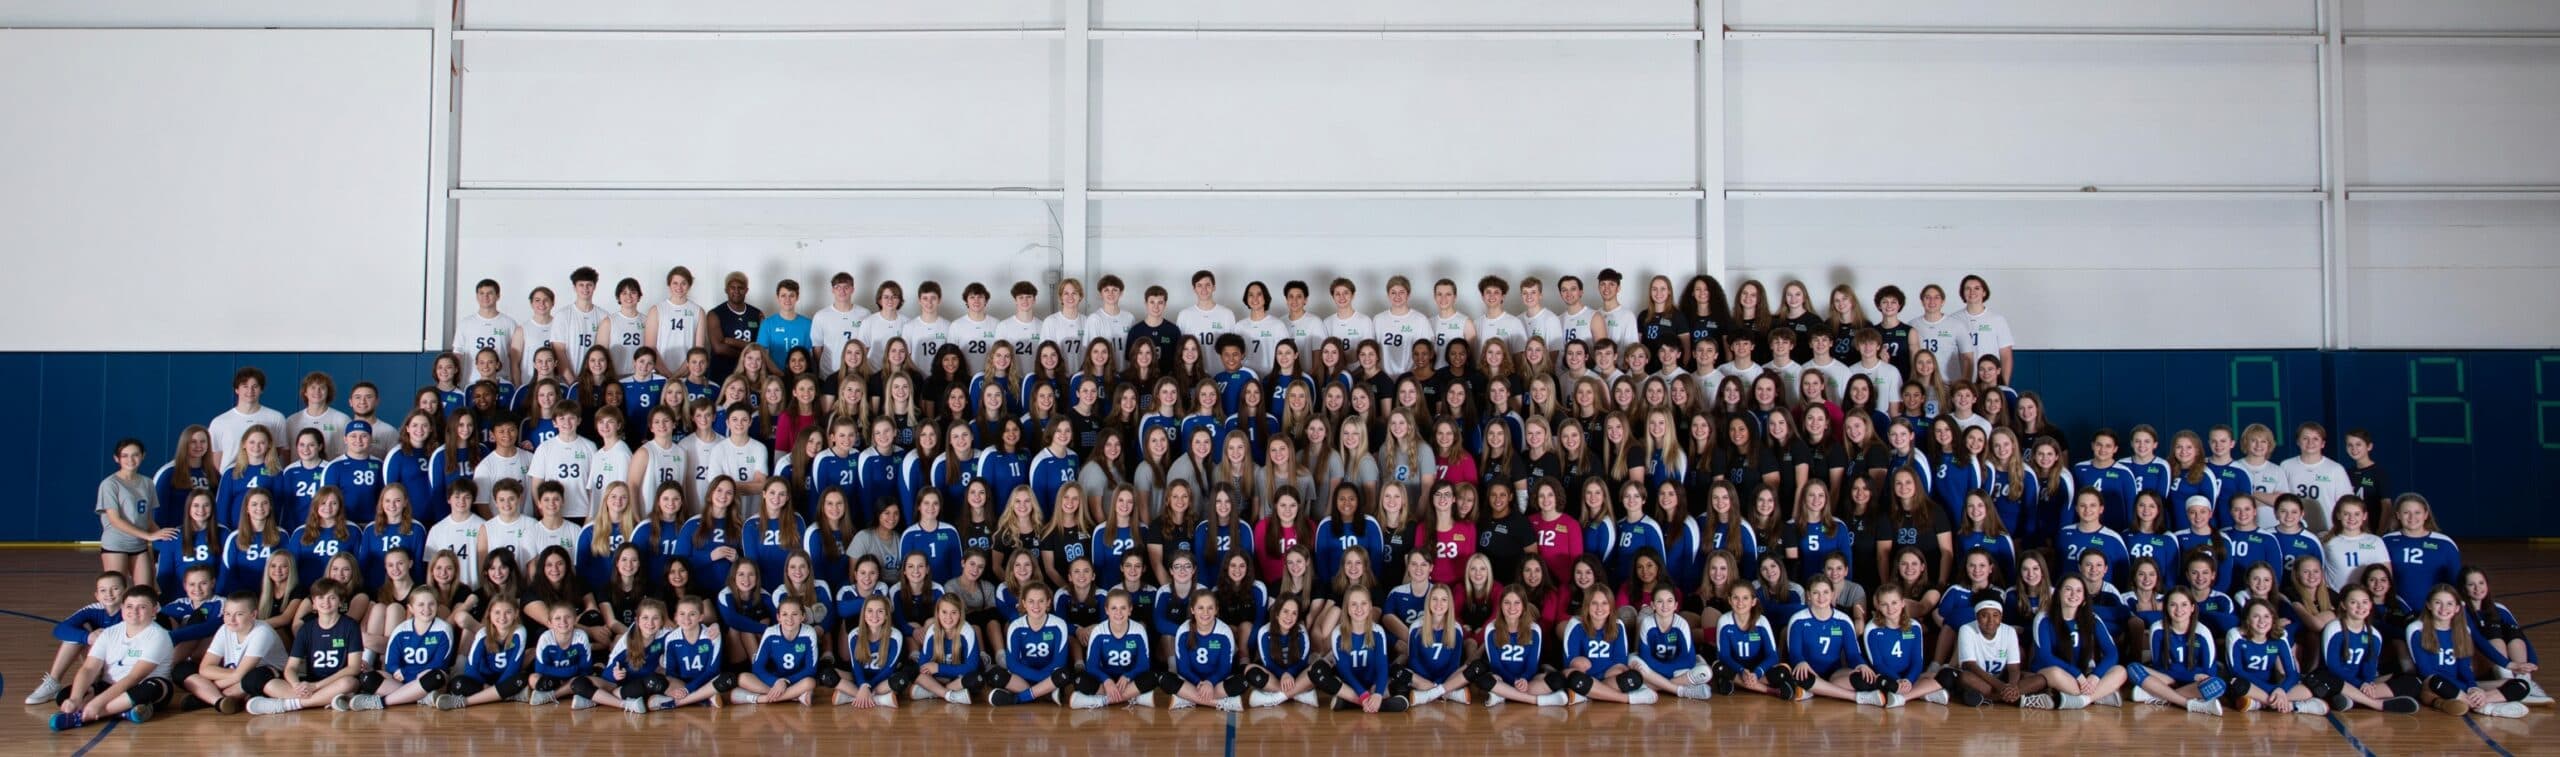
Team Pathway
Structured team play with coaches who raise standards without losing the joy of the sport.
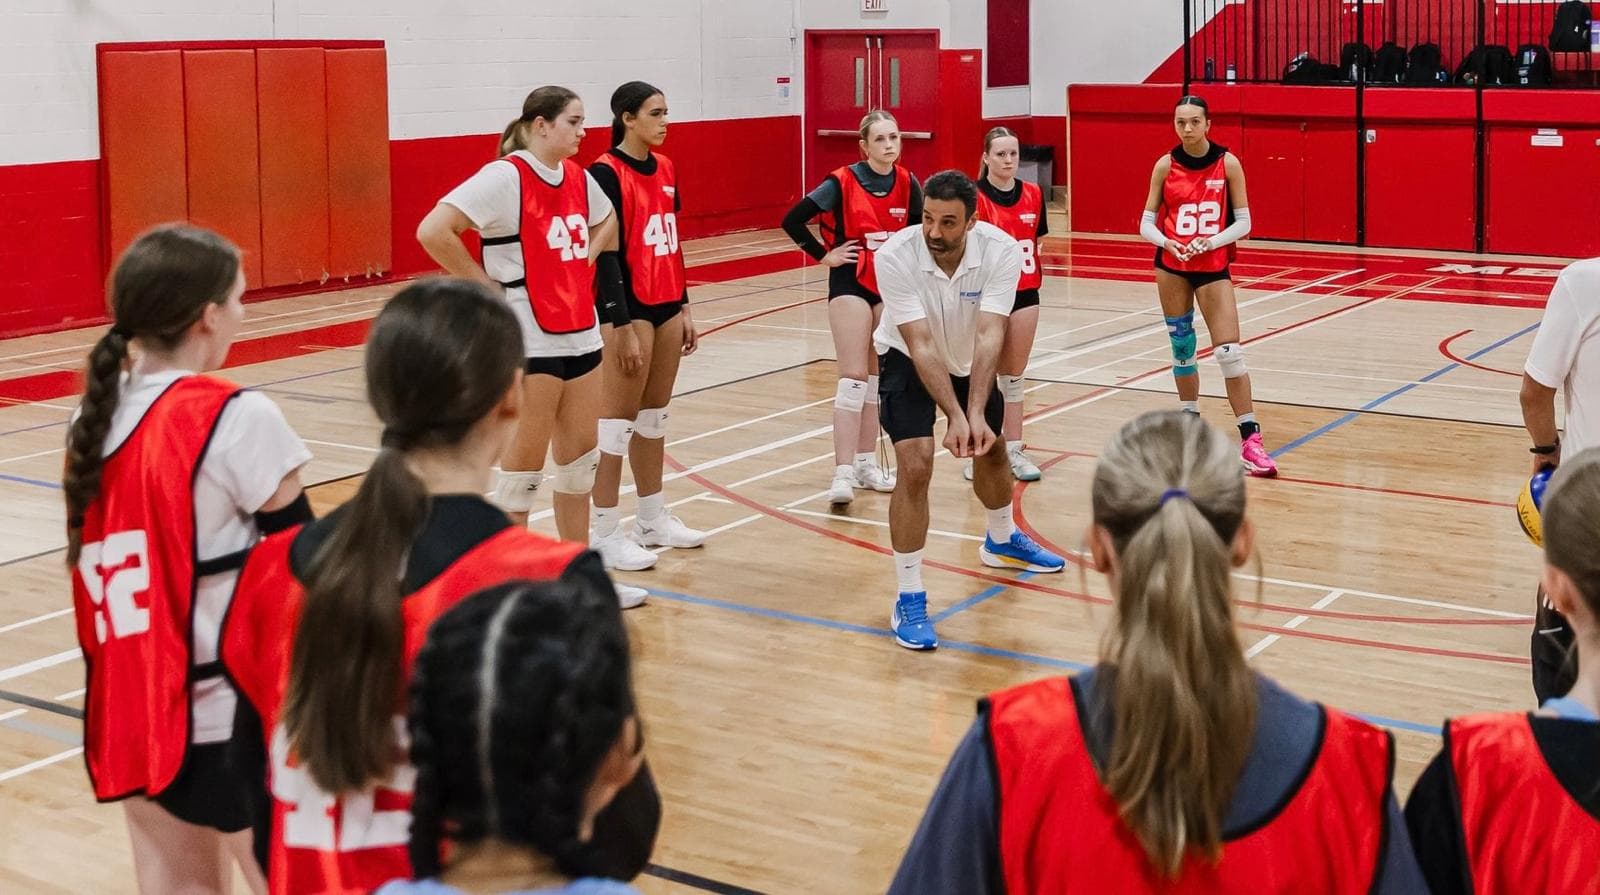
OCVA has undertaken the operation of the United Volleyball Club program in Orange County — now running as a nonprofit under OCVA, with competitive and developmental teams from 12U to 18U.
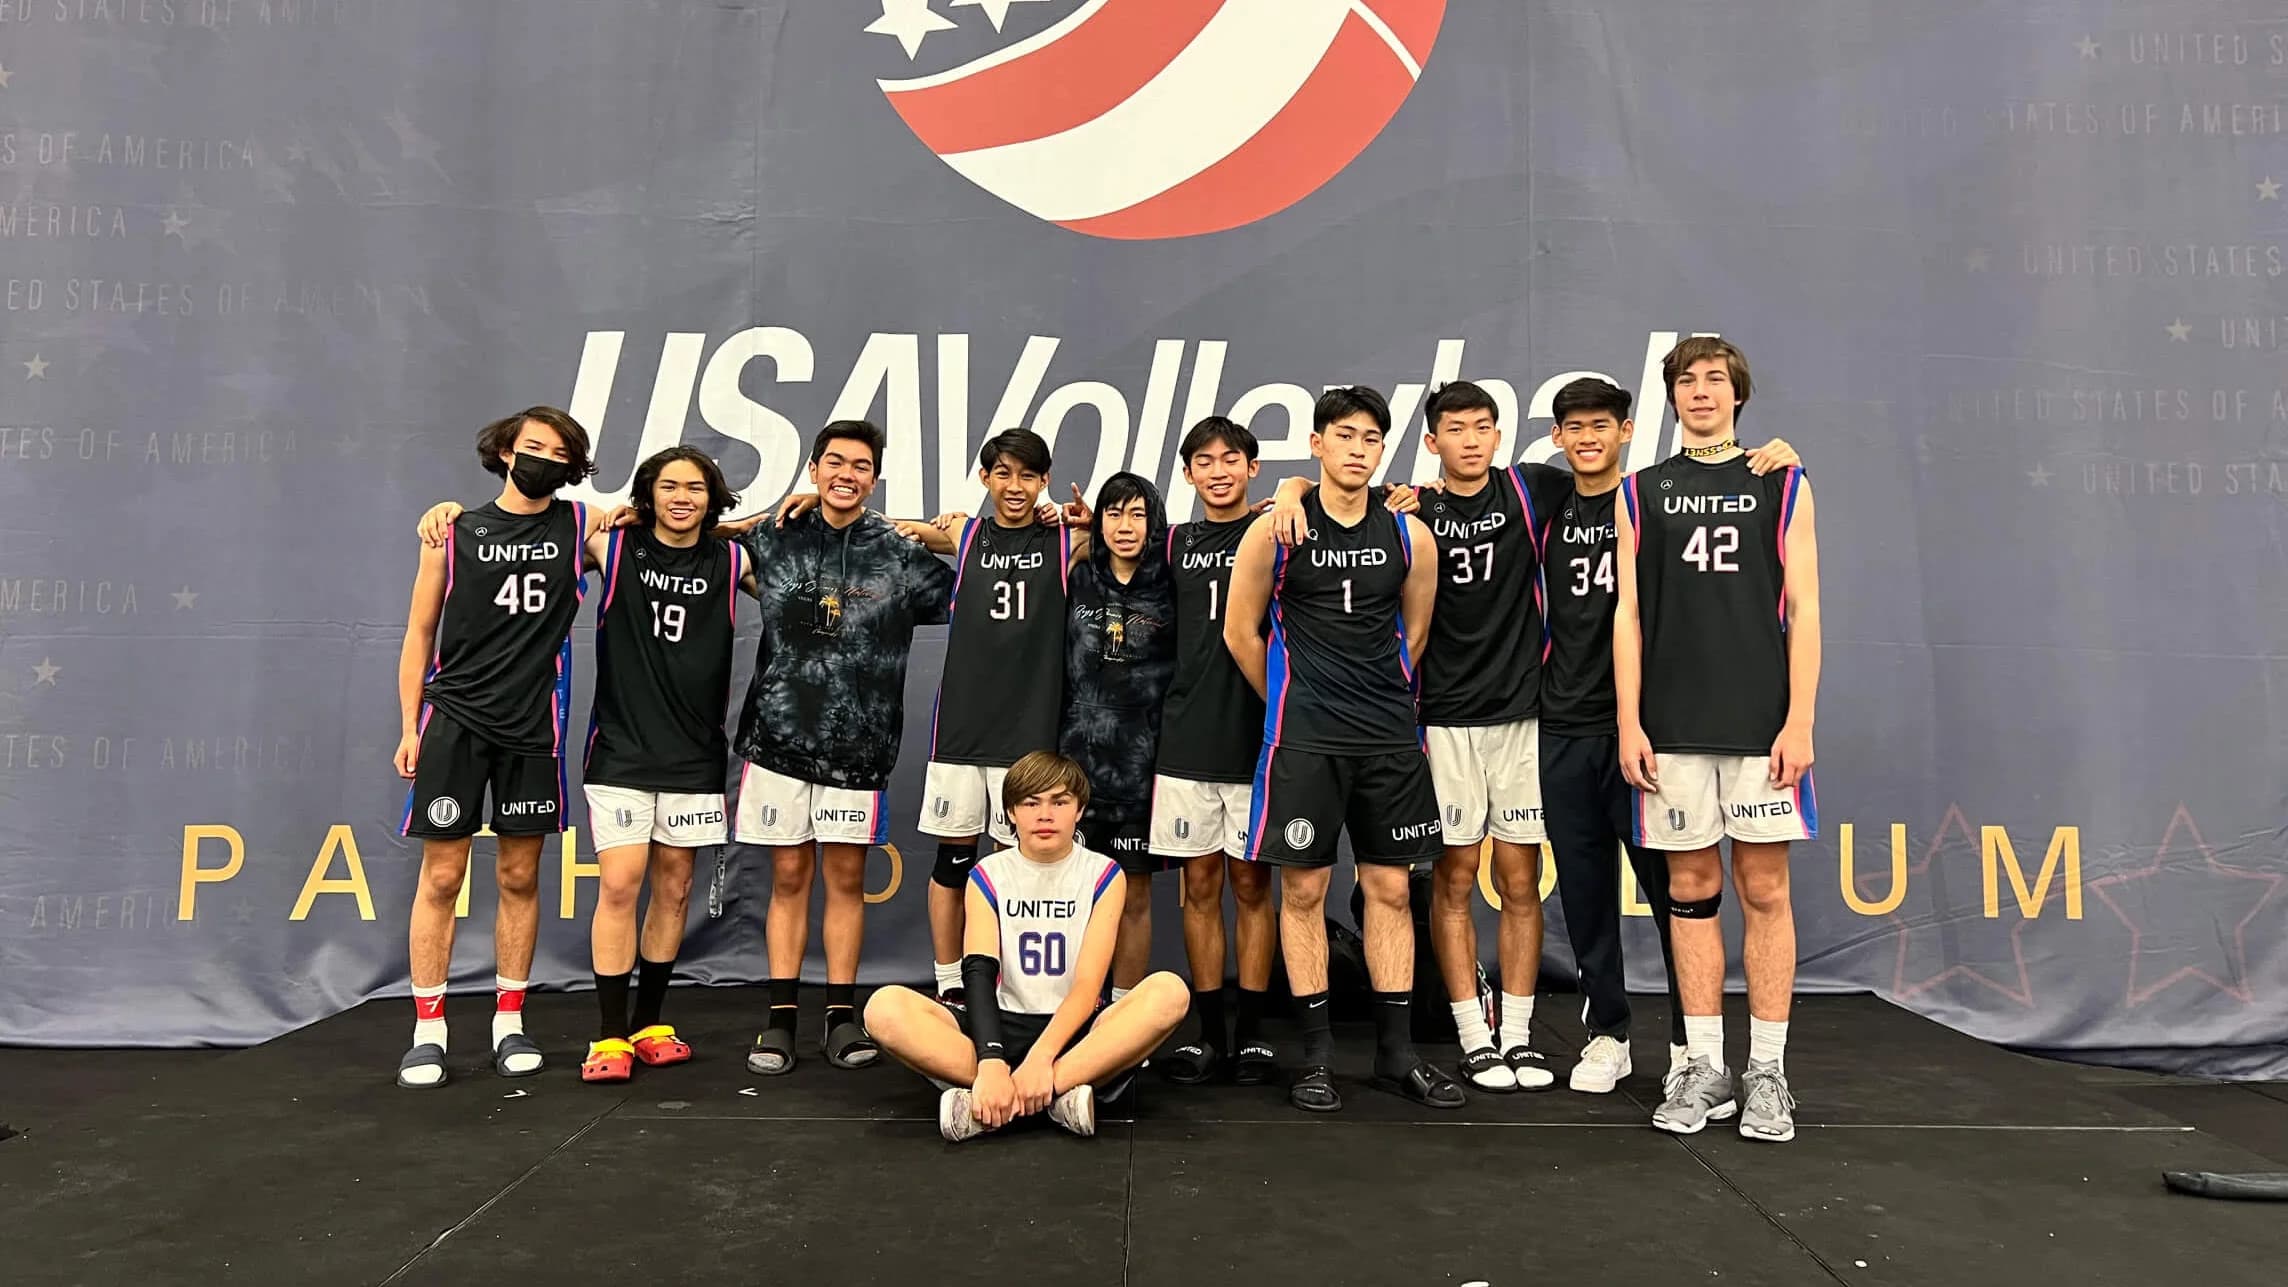
One of Orange County's most successful club volleyball programs — now operating as a nonprofit under OCVA. Competitive and developmental teams led by experienced coaches and former professional athletes, with consistent, high-quality training for every athlete regardless of age or skill level.


“Professional coach don't miss this opportunity.”
“Great club with supportive coaches and fun, well-organized practices. Highly recommend!”
“Appreciate the hard work of the coaches at OC Volleyball Association!”
“Professional coach don't miss this opportunity.”
“Great club with supportive coaches and fun, well-organized practices. Highly recommend!”
“Appreciate the hard work of the coaches at OC Volleyball Association!”
“A supportive, high energy and well organized environment that focuses on both skills improvement and personal development.”
“Best coach and knowledge and services they have ever.”
“Professional coach don't miss this opportunity. Great experience for our kids!”
“A supportive, high energy and well organized environment that focuses on both skills improvement and personal development.”
“Best coach and knowledge and services they have ever.”
“Professional coach don't miss this opportunity. Great experience for our kids!”
“Great club with supportive coaches and fun, well-organized practices. Highly recommend to all parents!”
“Appreciate the hard work of the coaches. My daughter loved every session.”
“A supportive environment that focuses on skills improvement and personal development. Couldn't ask for more.”
“Great club with supportive coaches and fun, well-organized practices. Highly recommend to all parents!”
“Appreciate the hard work of the coaches. My daughter loved every session.”
“A supportive environment that focuses on skills improvement and personal development. Couldn't ask for more.”
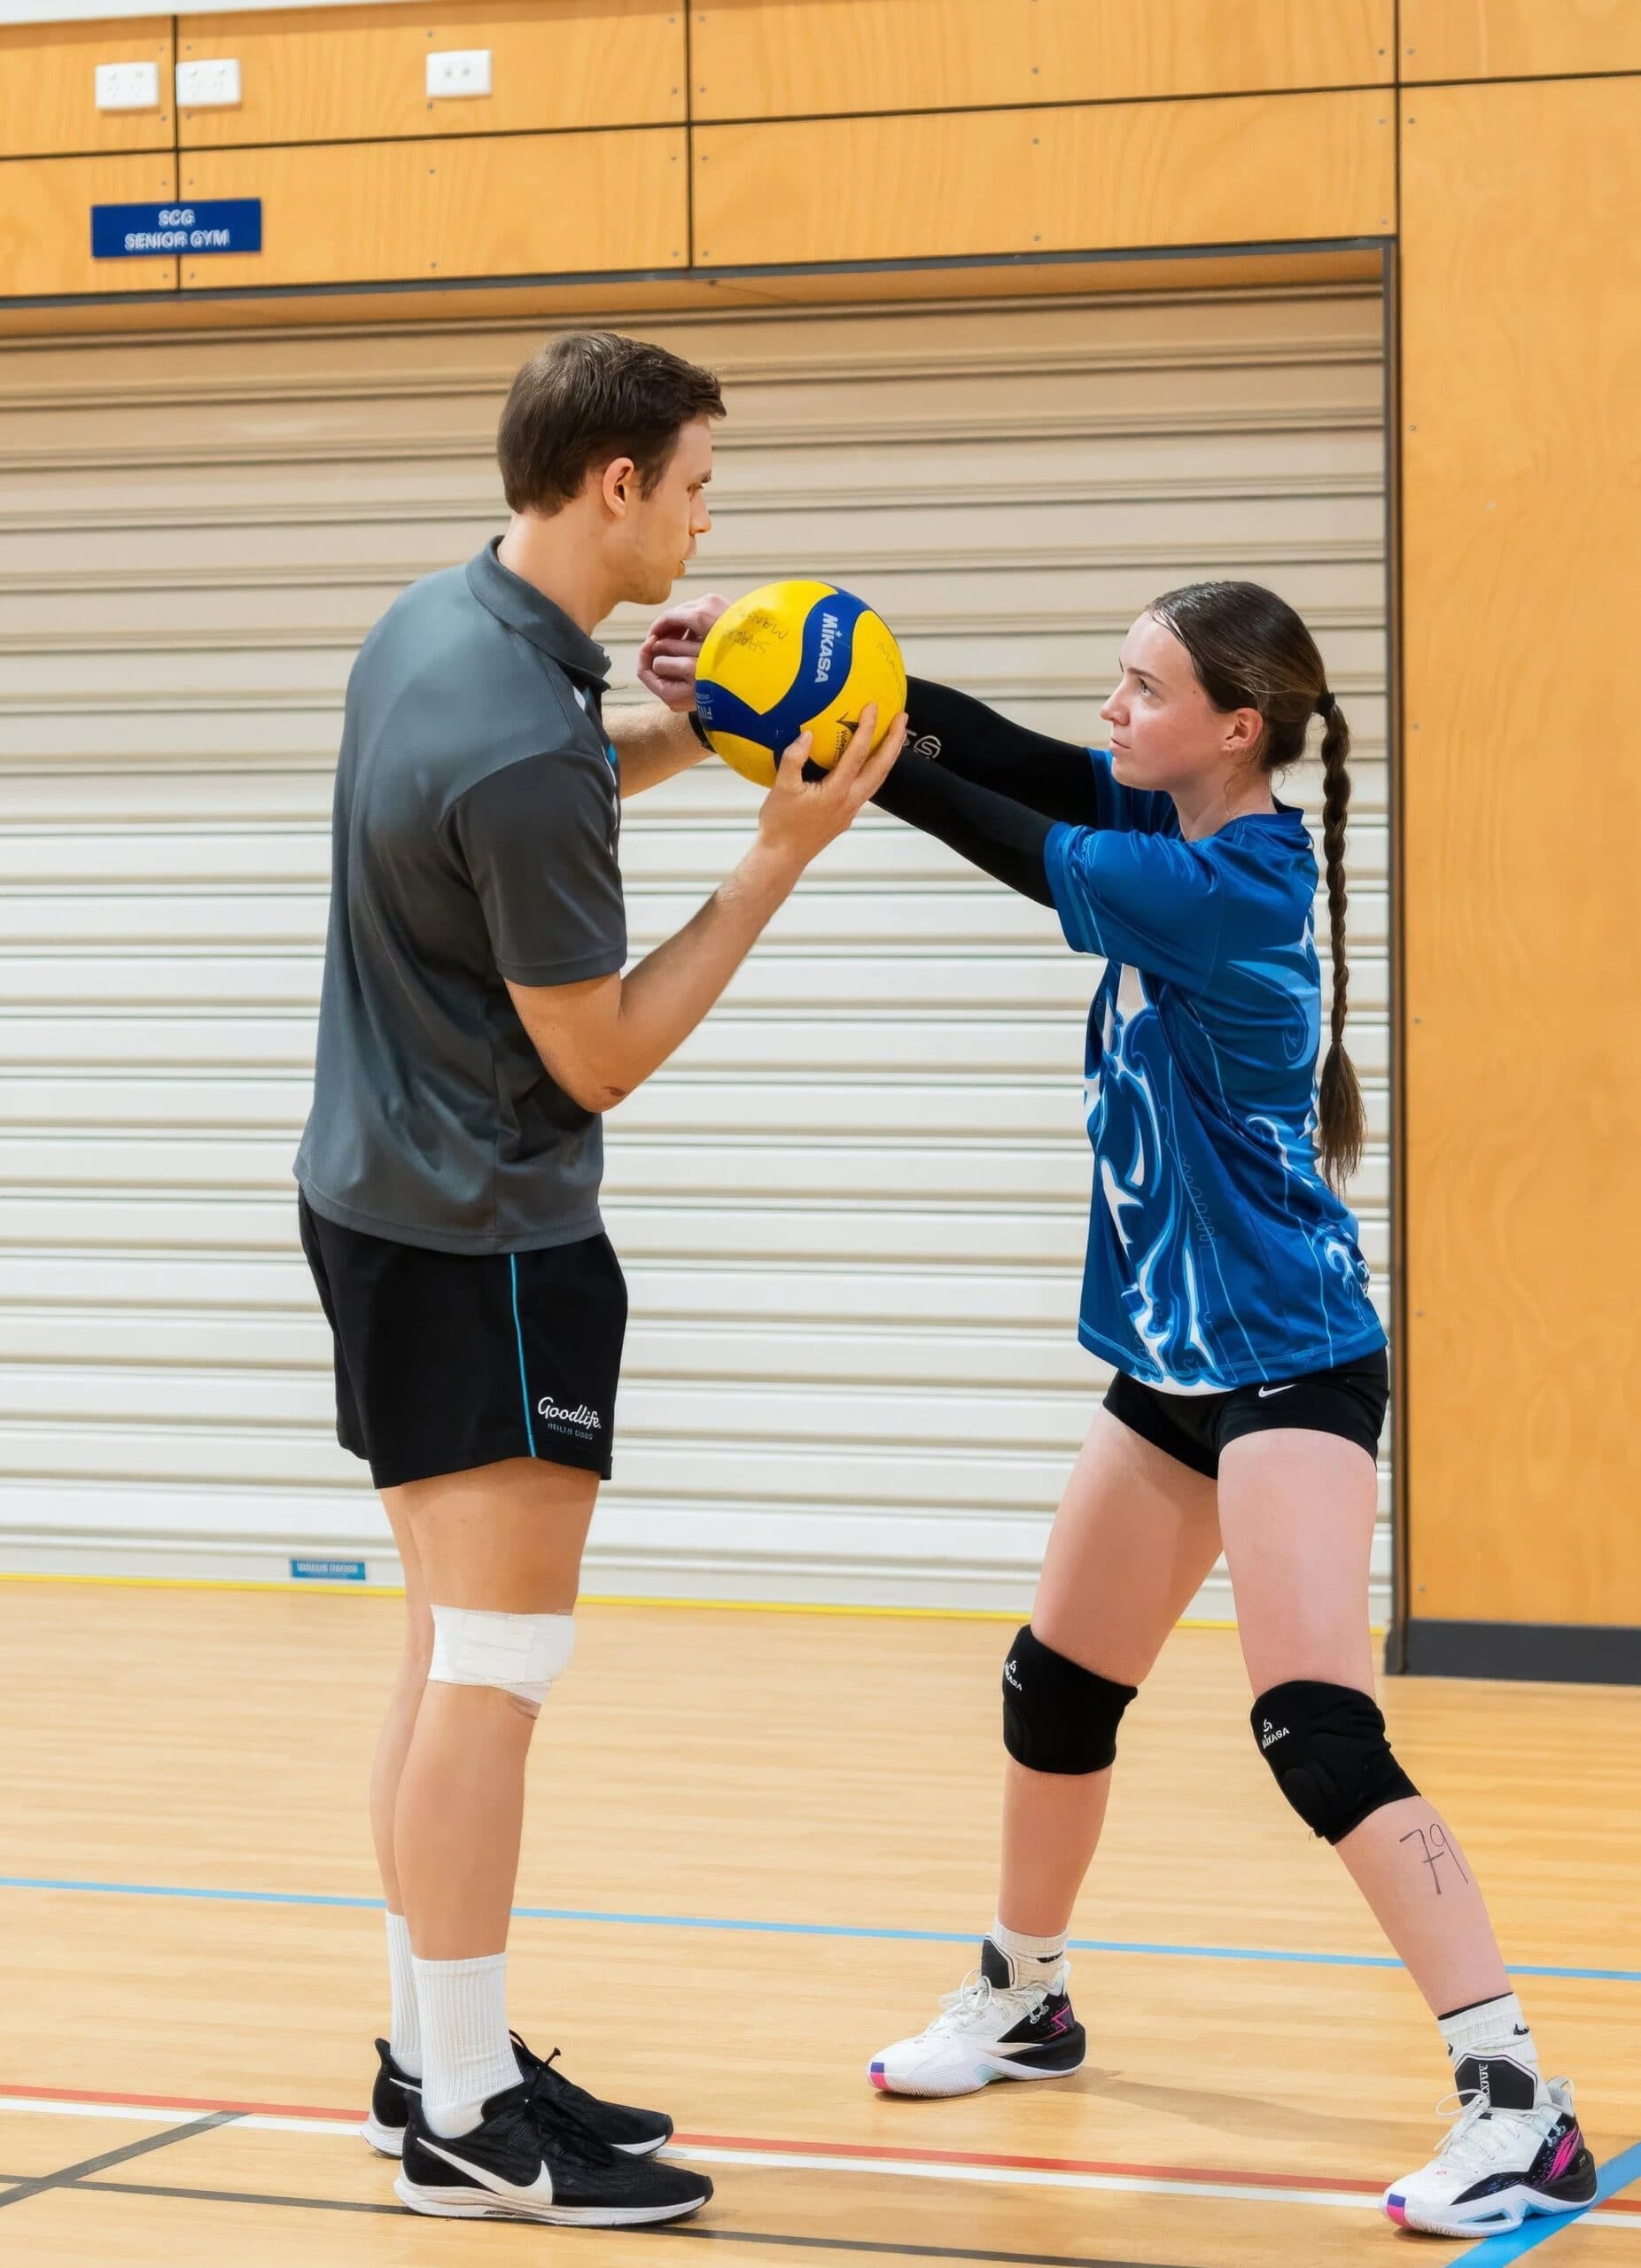
At Orange County Volleyball Association (OCVA), we provide elite private volleyball lessons led by Coach Shiari and our experienced coaching staff. We serve athletes from Irvine, Lake Forest, Tustin, Newport Beach, and surrounding Orange County communities.
Read our latest blog posts - tips, training guides, and volleyball news.
Join Orange County Volleyball Association as a recognized coach and help grow the community with us.
Become a Volleyball Instructor
Recognition as an OCVA club team coach
Browse the full program catalog, compare the right fit, and book the next step with a coaching team built for Orange County volleyball.
Now Enrolling
Camps, leagues, and club teams across Orange County — find the right program for every age and skill level.